Introduction
Redirect non-www to www using .htaccess is one of the simplest ways to keep your website URL structure clean, consistent, and SEO-friendly.
For example, your website may open from both:
https://example.com
https://www.example.com
Although both URLs may show the same website, search engines and browsers can treat them as separate versions if your server does not redirect one version to the other. Therefore, it is better to choose one preferred version and redirect all other versions to it.
In this guide, you will learn how to redirect the non-www version of your domain to the www version using .htaccess. You will also learn how to combine this with HTTPS, how to test the redirect, and how to avoid common mistakes.
What Is a Non-WWW to WWW Redirect?
A non-www to www redirect sends visitors from the root domain version to the www version.
For example:
http://example.com
https://example.com
Redirects to:
https://www.example.comThis means visitors, search engines, and links will all land on one final version of your website.
Google recommends choosing a canonical URL for duplicate or similar pages and linking consistently to the preferred version. A sitemap can also help Google understand which URLs you consider important.
Why Redirect Non-WWW to WWW?
A non-www to www redirect is useful for several reasons.
First, it avoids duplicate URL versions. If your website loads from both www and non-www, search engines may need to decide which version is the main one.
Second, it improves consistency. When all pages use the same URL format, your internal links, backlinks, analytics, and tracking become cleaner.
Third, it supports better technical SEO. A clean canonical setup helps search engines understand your preferred domain structure.
Finally, it gives users a stable browsing experience. Whether someone types example.com or www.example.com, they will reach the same final page.
Before You Edit the .htaccess File
Before changing your .htaccess file, take a backup.
This file controls important Apache server behavior. A small mistake can cause a 500 internal server error or redirect loop.
Follow these steps first:
- Log in to your hosting control panel or FTP/SFTP.
- Go to your website root folder, usually
public_html. - Find the
.htaccessfile. - Download a backup copy to your computer.
- Edit the file carefully.
- Save and test the website immediately.
If you are using WordPress, the .htaccess file is usually located in the same folder where you see:
wp-admin
wp-content
wp-includes
Basic .htaccess Code to Redirect Non-WWW to WWW
Use this code if your website is using Apache and you want to redirect all non-www traffic to the www version.
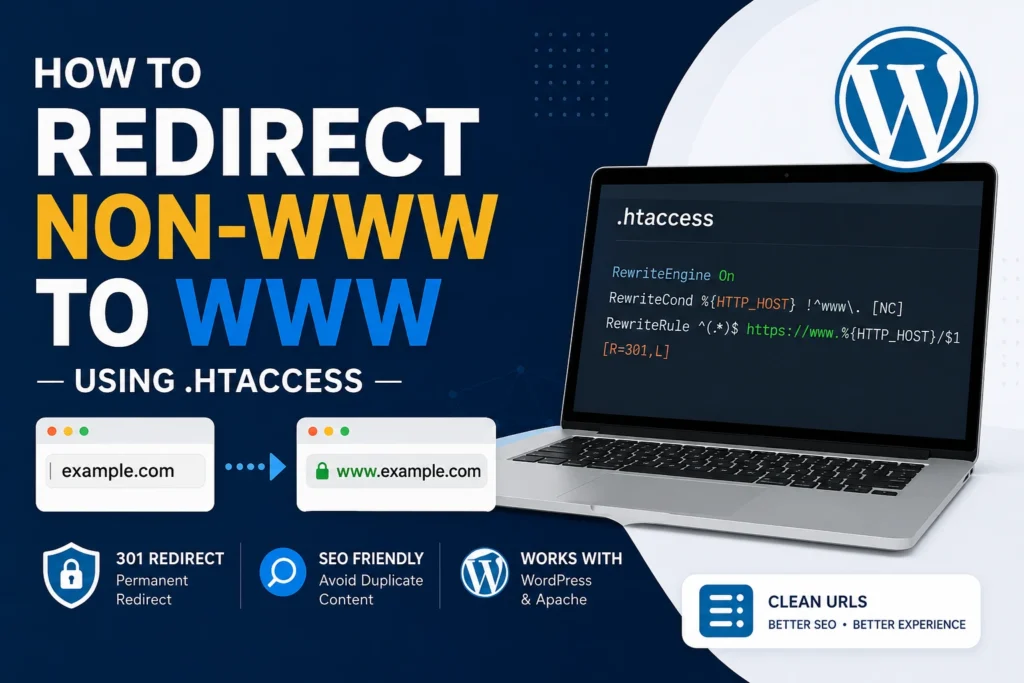
RewriteEngine On

RewriteCond %{HTTP_HOST} !^www\. [NC]
RewriteRule ^(.*)$ https://www.%{HTTP_HOST}/$1 [R=301,L]
This rule checks whether the requested host does not start with www.. If it does not, the visitor is redirected to the www version.
The [R=301,L] part means this is a permanent redirect and the rule should stop processing after it runs. Apache documentation explains that an R=301 redirect is a permanent redirect and tells search engines to update their index.
Recommended Code: Redirect Non-WWW to WWW and HTTPS
In most modern websites, you should redirect to both HTTPS and www at the same time.
Use this version if your final preferred URL is:
https://www.example.comAdd this code near the top of your .htaccess file, before the default WordPress rules:
RewriteEngine On

RewriteCond %{HTTPS} off [OR]
RewriteCond %{HTTP_HOST} !^www\. [NC]
RewriteRule ^(.*)$ https://www.%{HTTP_HOST}/$1 [R=301,L]
However, the above rule can create a problem if your host already includes www in some cases. A safer domain-specific version is often better.
Replace example.com with your real domain:
RewriteEngine On

RewriteCond %{HTTPS} off [OR]
RewriteCond %{HTTP_HOST} ^example\.com$ [NC]
RewriteRule ^(.*)$ https://www.example.com/$1 [R=301,L]
This code does two things:
- Redirects HTTP to HTTPS.
- Redirects
example.comtowww.example.com.
Best Version for WordPress Websites
If your site is built with WordPress, place your redirect rules before the default WordPress block.
Your .htaccess file may look like this:
RewriteEngine On

RewriteCond %{HTTPS} off [OR]
RewriteCond %{HTTP_HOST} ^example\.com$ [NC]
RewriteRule ^(.*)$ https://www.example.com/$1 [R=301,L]

# BEGIN WordPress
# The directives between "BEGIN WordPress" and "END WordPress" are dynamically generated.
# Any changes to the directives between these markers may be overwritten.

RewriteRule .* - [E=HTTP_AUTHORIZATION:%{HTTP:Authorization}]
RewriteBase /
RewriteRule ^index\.php$ - [L]
RewriteCond %{REQUEST_FILENAME} !-f
RewriteCond %{REQUEST_FILENAME} !-d
RewriteRule . /index.php [L]

# END WordPress
Important: Do not place your custom redirect rules inside the # BEGIN WordPress and # END WordPress section because WordPress may overwrite that area.
Update WordPress URL Settings
After adding the redirect, check your WordPress settings.
Go to:
WordPress Dashboard > Settings > GeneralThen confirm both fields use the same final version:
WordPress Address (URL): https://www.example.com
Site Address (URL): https://www.example.com
WordPress documentation also explains that the site URL can be manually defined in wp-config.php using WP_HOME and WP_SITEURL, although hard-coding these values means you cannot edit them from the General Settings screen.
If these fields are greyed out, check your wp-config.php file for these lines:
define( 'WP_HOME', 'https://www.example.com' );
define( 'WP_SITEURL', 'https://www.example.com' );
If they exist, update them carefully or ask your developer/server admin before changing them.
How to Test the Redirect
After saving the .htaccess file, test all versions of your website.
Check these URLs:
http://example.com
http://www.example.com
https://example.com
https://www.example.com
All of them should end at:
https://www.example.comYou can test manually in an incognito browser. Also, you can use tools such as:
- Redirect checker tools
- Browser developer tools
- Google Search Console URL Inspection
- cURL command from terminal
Example cURL test:
curl -I http://example.comYou should see a 301 response and the final destination should point to the www HTTPS URL.
Common Mistakes to Avoid
1. Forgetting to Back Up .htaccess
Always back up your .htaccess file before editing. If the site breaks, you can quickly restore the previous version.
2. Using the Wrong Domain
Do not copy example.com without replacing it with your own domain.
Correct:
RewriteCond %{HTTP_HOST} ^yourdomain\.com$ [NC]
RewriteRule ^(.*)$ https://www.yourdomain.com/$1 [R=301,L]
3. Creating Redirect Loops
A redirect loop happens when the browser keeps redirecting between two or more versions of the same URL.
This can happen if:
- Your hosting panel already has a redirect.
- Cloudflare has a conflicting HTTPS rule.
- WordPress URL settings do not match your
.htaccessredirect. - A plugin is also forcing another redirect.
4. Mixing WWW and Non-WWW in Internal Links
After choosing the www version, update your internal links to use the same format.
For example, use:
https://www.example.com/page-name/Instead of:
https://example.com/page-name/Consistent internal linking helps search engines understand your preferred canonical version.
5. Forgetting HTTPS
If your SSL certificate is active, your final URL should usually use HTTPS. Avoid redirecting users to an HTTP version of your website.
What If You Want WWW to Non-WWW Instead?
Some website owners prefer the non-www version.
For example:
https://example.comInstead of:
https://www.example.comIn that case, use a different rule:
RewriteEngine On

RewriteCond %{HTTP_HOST} ^www\.example\.com$ [NC]
RewriteRule ^(.*)$ https://example.com/$1 [R=301,L]
Both www and non-www can work. The most important thing is to choose one version and use it consistently across your website.
Cloudflare Users: Important Note
If your site uses Cloudflare, check your SSL/TLS settings before editing redirects.
For most WordPress websites, Cloudflare SSL should be set to:
Fullor
Full (Strict)Avoid using conflicting redirect rules in too many places. For example, do not force HTTPS in Cloudflare, hosting panel, WordPress plugin, and .htaccess unless you know how each rule works.
Too many redirect systems can cause loops or unnecessary redirect chains.
SEO Checklist After Redirect Setup
After setting your redirect, complete this checklist:
- Confirm all HTTP URLs redirect to HTTPS.
- Confirm all non-www URLs redirect to www.
- Check WordPress Address and Site Address.
- Update internal links where possible.
- Update sitemap URLs.
- Submit the sitemap in Google Search Console.
- Check canonical tags.
- Test important pages.
- Check for redirect chains.
- Clear website cache and CDN cache.
FAQ
Is www better than non-www for SEO?
No, www is not automatically better than non-www. Search engines can rank either version. However, you should choose one version and redirect the other version to it.
Should I use a 301 or 302 redirect?
Use a 301 redirect for a permanent non-www to www redirect. A 301 redirect tells browsers and search engines that the change is permanent.
Where should I place the redirect code in WordPress?
Place the redirect code before the default WordPress rewrite rules in the .htaccess file. Do not place it between # BEGIN WordPress and # END WordPress.
Can I redirect non-www to www without .htaccess?
Yes. You can also do it from your hosting control panel, Apache virtual host configuration, Nginx server block, Cloudflare rules, or a WordPress plugin. However, .htaccess is common for Apache-based shared hosting.
Why is my website showing too many redirects?
This usually means there is a conflict between multiple redirect settings. Check your .htaccess, WordPress URL settings, SSL plugin, hosting redirect settings, and Cloudflare configuration.
Do I need to update Google Search Console?
Yes. After changing your preferred URL format, submit your updated sitemap and inspect important URLs in Google Search Console.
Final Thoughts
Redirecting non-www to www using .htaccess is a small but important technical SEO step. It helps keep your website structure clean, avoids duplicate URL versions, and gives users a consistent browsing experience.
For most WordPress websites, the best final version is usually:
https://www.example.comHowever, you can also use the non-www version if that is your preferred brand format. The key is consistency.
Before making changes, back up your .htaccess file, update your WordPress URL settings, test all URL versions, and clear your cache.
After updating the article, submit the URL in Google Search Console and request indexing so Google can re-crawl the improved content faster.