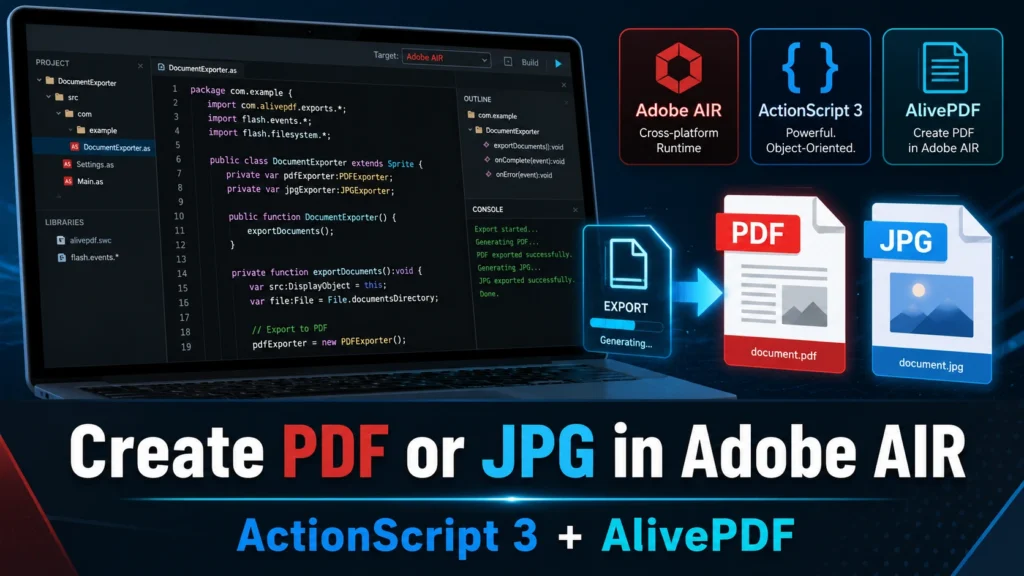
Create PDF or JPG file in Adobe AIR projects is a common requirement when building legacy desktop or mobile applications with ActionScript 3. Although Adobe AIR and AS3 are older technologies, many businesses, developers, and application owners still maintain AIR-based tools for reporting, screenshots, invoices, certificates, offline documents, and printable exports.
In this tutorial, you will learn how to save a JPG image file in Adobe AIR using ActionScript 3. You will also learn how the same concept can be extended to create PDF files with the AlivePDF library.
This guide is useful for developers who are maintaining an existing Adobe AIR project, updating an old AS3 application, or trying to understand how file saving works inside AIR.
Important Note About Adobe AIR and ActionScript 3
Adobe AIR and ActionScript 3 are now considered legacy technologies. However, legacy does not always mean useless. Many old business applications, educational tools, kiosk systems, and offline desktop apps still use Adobe AIR.
Today, AIR SDK development and support are handled through HARMAN. Therefore, if you are starting a new project, you may want to compare modern alternatives like Electron, Flutter, React Native, or native desktop/mobile development. However, if you already have an Adobe AIR application, updating and maintaining it can still be practical.
This article focuses on maintenance, learning, and legacy project support.
When Do You Need to Create JPG or PDF Files in Adobe AIR?
You may need this feature when your Adobe AIR application needs to export content from the screen or generate a document for users.
Common use cases include:
- Saving a screenshot from an AIR application
- Exporting a drawing, canvas, or visual layout as JPG
- Creating a printable report
- Generating an invoice or receipt
- Saving a certificate or user-generated design
- Exporting application data as a PDF file
- Creating offline documents for desktop or mobile users
For example, if your AIR app lets users design a layout, fill out a form, or view a report, you may want to give them a “Save as JPG” or “Export as PDF” button.
Basic Concept: How File Saving Works in Adobe AIR
Adobe AIR gives developers access to the local file system through classes such as:
FileFileStreamFileModeByteArray
The basic process is simple:
- Choose where the file will be saved.
- Convert the image or PDF data into bytes.
- Open a file stream.
- Write the bytes into the file.
- Close the stream.
This is different from browser-based Flash because Adobe AIR applications can access local files with the right permissions.
Required ActionScript Classes
To save a JPG file, you usually need these classes:
import flash.filesystem.File;
import flash.filesystem.FileStream;
import flash.filesystem.FileMode;
import flash.utils.ByteArray;
import com.adobe.images.JPGEncoder;
You also need a bitmap source. This can come from a screenshot, a BitmapData object, or a display object converted into bitmap data.
For PDF generation, you can use the AlivePDF library. AlivePDF was a popular AS3 library for creating PDF files from ActionScript projects.
How to Save a JPG File in Adobe AIR Using ActionScript 3
Below is a simple example that saves a JPG file into the user’s Documents directory.
import flash.filesystem.File;
import flash.filesystem.FileStream;
import flash.filesystem.FileMode;
import flash.utils.ByteArray;
import com.adobe.images.JPGEncoder;

// File name without extension
var fileName:String = "my_air_image";

// Save location
var file:File = File.documentsDirectory.resolvePath(fileName + ".jpg");

// Create file stream
var stream:FileStream = new FileStream();

// JPG quality: 0 to 100
var jpgEncoder:JPGEncoder = new JPGEncoder(80);

// Convert BitmapData to JPG bytes
var bytes:ByteArray = jpgEncoder.encode(snapShot.bitmapData);

// Write file
stream.open(file, FileMode.WRITE);
stream.writeBytes(bytes, 0, bytes.bytesAvailable);
stream.close();
In this example, snapShot.bitmapData represents the image data you want to save. If your project uses a different variable name, replace snapShot.bitmapData with your actual BitmapData source.
Code Explanation
Let’s break down the code step by step.
1. Set the File Name
var fileName:String = "my_air_image";This defines the name of the exported JPG file. You can also create a dynamic file name using a date, user ID, or report title.
Example:
var fileName:String = "report_" + new Date().time;This helps avoid overwriting old files.
2. Choose the Save Location
var file:File = File.documentsDirectory.resolvePath(fileName + ".jpg");This saves the JPG file in the user’s Documents folder.
You can also use other AIR directories, such as:
File.desktopDirectory
File.applicationStorageDirectory
File.userDirectory
For most user-facing exports, documentsDirectory or desktopDirectory is easier for users to find.
3. Create the File Stream
var stream:FileStream = new FileStream();FileStream is used to open, write, and close the file.
4. Encode the Image as JPG
var jpgEncoder:JPGEncoder = new JPGEncoder(80);
var bytes:ByteArray = jpgEncoder.encode(snapShot.bitmapData);
The value 80 means the JPG quality is 80 out of 100. A higher value gives better image quality, but it also creates a larger file.
Recommended quality values:
60for smaller file size80for balanced quality90or above for high-quality exports
5. Write the JPG File
stream.open(file, FileMode.WRITE);
stream.writeBytes(bytes, 0, bytes.bytesAvailable);
stream.close();
This opens the file, writes the JPG data, and closes the stream.
Always close the stream after writing. Otherwise, the file may not save properly.
How to Capture a Display Object as BitmapData
In many AIR projects, you may want to save a visual object from the screen. For example, you may want to export a chart, a design area, or a form preview.
Here is a simple example:
import flash.display.BitmapData;
import flash.geom.Matrix;

var bitmapData:BitmapData = new BitmapData(myDisplayObject.width, myDisplayObject.height);
bitmapData.draw(myDisplayObject);
Then you can pass bitmapData to the JPG encoder:
var jpgEncoder:JPGEncoder = new JPGEncoder(80);
var bytes:ByteArray = jpgEncoder.encode(bitmapData);
Full example:
import flash.display.BitmapData;
import flash.filesystem.File;
import flash.filesystem.FileStream;
import flash.filesystem.FileMode;
import flash.utils.ByteArray;
import com.adobe.images.JPGEncoder;

var bitmapData:BitmapData = new BitmapData(myDisplayObject.width, myDisplayObject.height);
bitmapData.draw(myDisplayObject);

var file:File = File.documentsDirectory.resolvePath("exported_image.jpg");
var stream:FileStream = new FileStream();
var jpgEncoder:JPGEncoder = new JPGEncoder(80);
var bytes:ByteArray = jpgEncoder.encode(bitmapData);

stream.open(file, FileMode.WRITE);
stream.writeBytes(bytes, 0, bytes.bytesAvailable);
stream.close();
Replace myDisplayObject with the actual object you want to export.
How to Create a PDF File Using AlivePDF
AlivePDF allows developers to create PDF files directly from ActionScript 3. It can be useful when you want to export reports, text content, invoices, or printable documents.
A basic AlivePDF workflow usually follows this structure:
- Create a new PDF object.
- Add a page.
- Add text, image, or layout content.
- Save the PDF as bytes.
- Write the bytes to a file using
FileStream.
Example structure:
import org.alivepdf.pdf.PDF;
import org.alivepdf.saving.Method;
import org.alivepdf.pages.Page;
import flash.filesystem.File;
import flash.filesystem.FileStream;
import flash.filesystem.FileMode;
import flash.utils.ByteArray;

var pdf:PDF = new PDF();
pdf.addPage();

pdf.setFontSize(16);
pdf.addText("Hello from Adobe AIR and AlivePDF", 40, 40);

var bytes:ByteArray = pdf.save(Method.LOCAL);

var file:File = File.documentsDirectory.resolvePath("sample_report.pdf");
var stream:FileStream = new FileStream();

stream.open(file, FileMode.WRITE);
stream.writeBytes(bytes);
stream.close();
This creates a basic PDF file and saves it to the Documents directory.
Saving an Image into a PDF
In some projects, you may want to capture a screen area as an image and place it into a PDF file. This is useful for reports, visual receipts, certificates, or design previews.
The general process is:
- Capture the display object as
BitmapData. - Encode or prepare the image.
- Create a PDF page.
- Add the image to the PDF.
- Save the PDF file.
Depending on your AlivePDF version, image handling may require specific methods and imports. Therefore, always check the exact AlivePDF version used in your project.
Common Problems and Fixes
JPG File Is Not Saving
Check these points:
- Make sure the app is running as an Adobe AIR application, not only in browser Flash mode.
- Confirm that
snapShot.bitmapDatais not null. - Make sure the file path is valid.
- Check whether the application has permission to write to the selected directory.
- Always close the
FileStreamafter writing.
The Saved JPG File Is Blank
This usually happens when the display object was not drawn correctly.
Try these fixes:
- Make sure the display object is visible.
- Make sure width and height are greater than zero.
- Check if the object is fully loaded before capturing.
- If external images are used, make sure they are loaded before calling
draw().
PDF File Is Created but Does Not Open
This can happen if the byte data is incomplete or the file stream was not closed properly.
Check:
- The PDF object is created correctly.
- A page is added before saving.
- The PDF bytes are not empty.
- The file extension is
.pdf. - The stream is closed after writing.
File Gets Overwritten Every Time
If you use the same file name, AIR may overwrite the previous file.
Use a timestamp:
var fileName:String = "export_" + new Date().time + ".jpg";This creates a unique file name for each export.
Best Practices for Adobe AIR File Export
Follow these best practices when adding JPG or PDF export features:
- Use clear file names.
- Save files in a user-friendly location.
- Show a success message after saving.
- Handle errors with
try/catch. - Avoid very high JPG quality unless needed.
- Close every file stream properly.
- Test on every target platform.
- Keep legacy libraries documented inside your project.
Example error handling:
try
{
    stream.open(file, FileMode.WRITE);
    stream.writeBytes(bytes, 0, bytes.bytesAvailable);
    stream.close();

    trace("File saved successfully: " + file.nativePath);
}
catch (error:Error)
{
    trace("File save failed: " + error.message);
}
This makes debugging easier.
Should You Still Use Adobe AIR and AlivePDF?
If you are maintaining an old Adobe AIR project, then yes, this method can still be useful. It helps you add or repair export features without rebuilding the full application.
However, if you are planning a new application, consider modern alternatives. Adobe AIR and ActionScript 3 are no longer mainstream technologies. Hiring developers, updating libraries, and maintaining long-term compatibility may become harder over time.
A practical approach is:
- Keep AIR if the existing app still works and only needs small updates.
- Update the AIR SDK if compatibility is required.
- Document all third-party libraries.
- Plan migration if the application is business-critical.
- Consider noindexing very old tutorials if they no longer match your site’s main direction.
FAQs
Can Adobe AIR save files to a local computer?
Yes. Adobe AIR applications can save files to the local file system using classes such as File, FileStream, and FileMode.
Can I create PDF files using ActionScript 3?
Yes. You can create PDF files using ActionScript 3 with libraries such as AlivePDF. The library allows you to generate PDF pages, add text, and save the output as a PDF file.
Can I save a screenshot as JPG in Adobe AIR?
Yes. You can draw a display object into BitmapData, encode it with JPGEncoder, and save it as a .jpg file using FileStream.
Why is my exported JPG blank?
The most common reasons are that the display object is not visible, not fully loaded, or has zero width and height. Make sure the object is ready before capturing it.
Is AlivePDF still recommended for new projects?
AlivePDF can still help with legacy ActionScript 3 projects. However, for new applications, modern PDF libraries in JavaScript, PHP, Python, Flutter, or native platforms may be easier to maintain.
Should I update or noindex this old article?
If the article still receives traffic or supports your old Adobe AIR content cluster, update it with a complete tutorial like this. However, if your website is now focused mainly on AI, SEO, WordPress, cybersecurity, and business automation, you may consider noindexing it after checking Search Console traffic.
Final Thoughts
Creating a JPG or PDF file in Adobe AIR using ActionScript 3 is possible with a simple file-writing process. For JPG files, you can capture bitmap data, encode it with JPGEncoder, and save it through FileStream. For PDF files, you can use AlivePDF to create a document, add content, and write the PDF bytes to the local system.
Although Adobe AIR and ActionScript 3 are legacy technologies, this tutorial can still help developers maintain older AIR applications. If your project is still active, keep your code documented, test exports carefully, and review whether the application should stay on AIR or move to a modern platform in the future.